Returns (RMA)
Goods coming back against a sale. A return records what the customer is sending, when it arrives, and what you decide to do with each unit — so faulty goods never slip back onto the shelf by accident.
Turn it on
Returns is an add-on: $29 a month, included in Pro. An owner switches it on under Settings → Add-ons, and a Returns tab appears on each sales order, after Credit notes.
Create a return
- First raise and authorise a credit note on the order’s Credit notes tab — a return can’t be created without one.
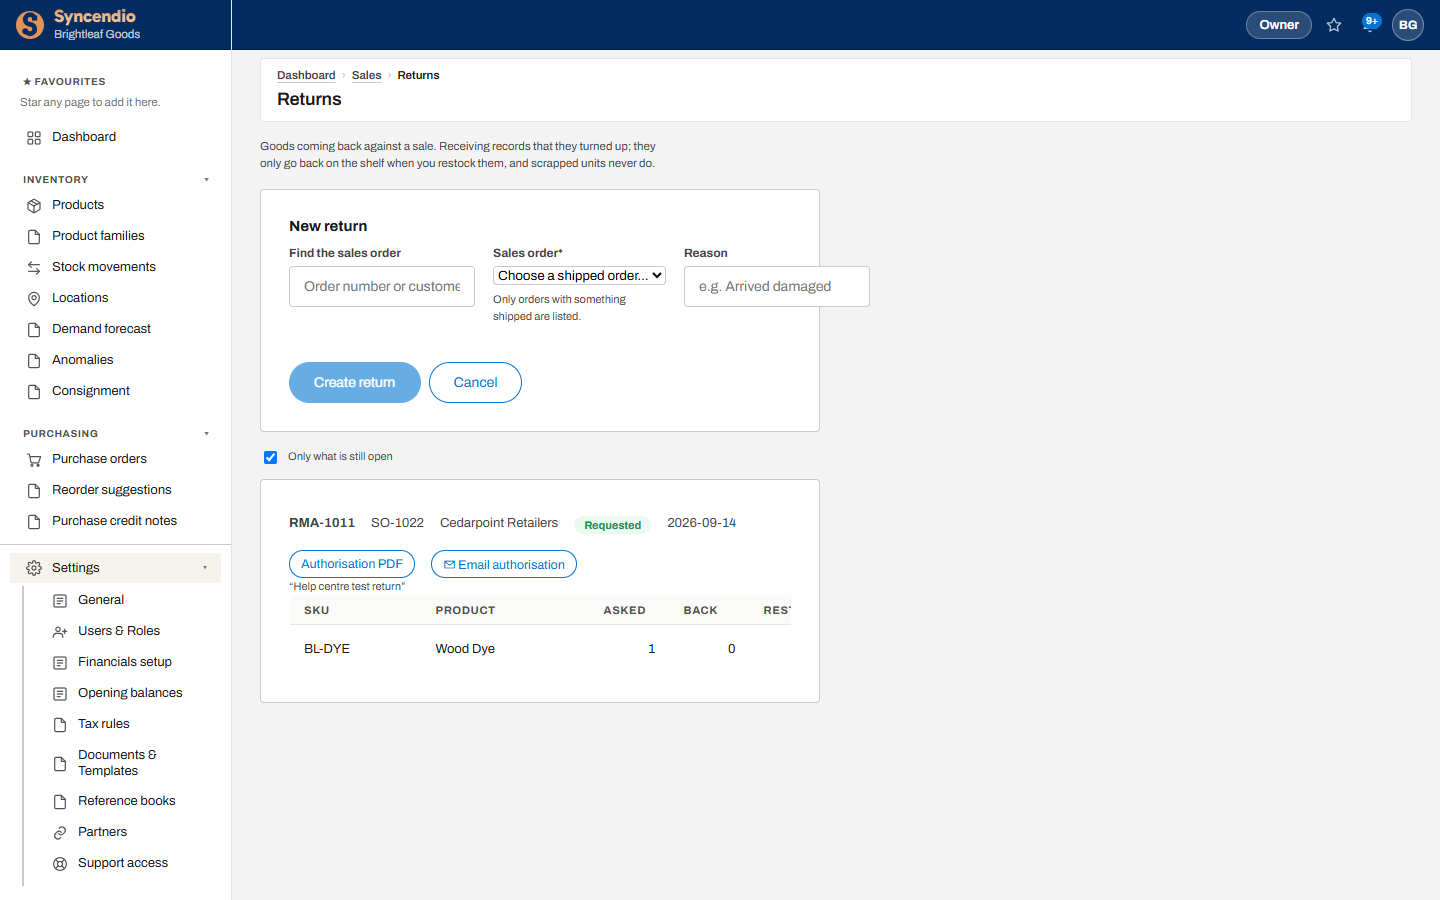
- Open the sales order, go to its Returns tab and click + New return. Choose the Credit note the return is for. Its products, quantities and reason are filled in — only products that shipped, and never more than the credit note covers.
- Enter a Reason, such as “Arrived damaged”.
- For each product coming back, enter the quantity. You can’t return more than shipped, less anything already returned on that order.
- Click Create return. It gets its own number and starts as requested.
Credit without a return
If the customer keeps the item — a goodwill gesture, a price correction, a damaged item not worth sending back — you don’t need a return. On the order’s Credit notes tab, choose No item — amount only, say what the credit is for, enter the amount and authorise it. No stock is involved.
Receive the goods
When the box arrives, enter how many came back on each line and click Received. The return becomes received. Receiving doesn’t put anything back in stock yet — somebody still has to check the goods.
Restock or scrap
- Check the goods that came back.
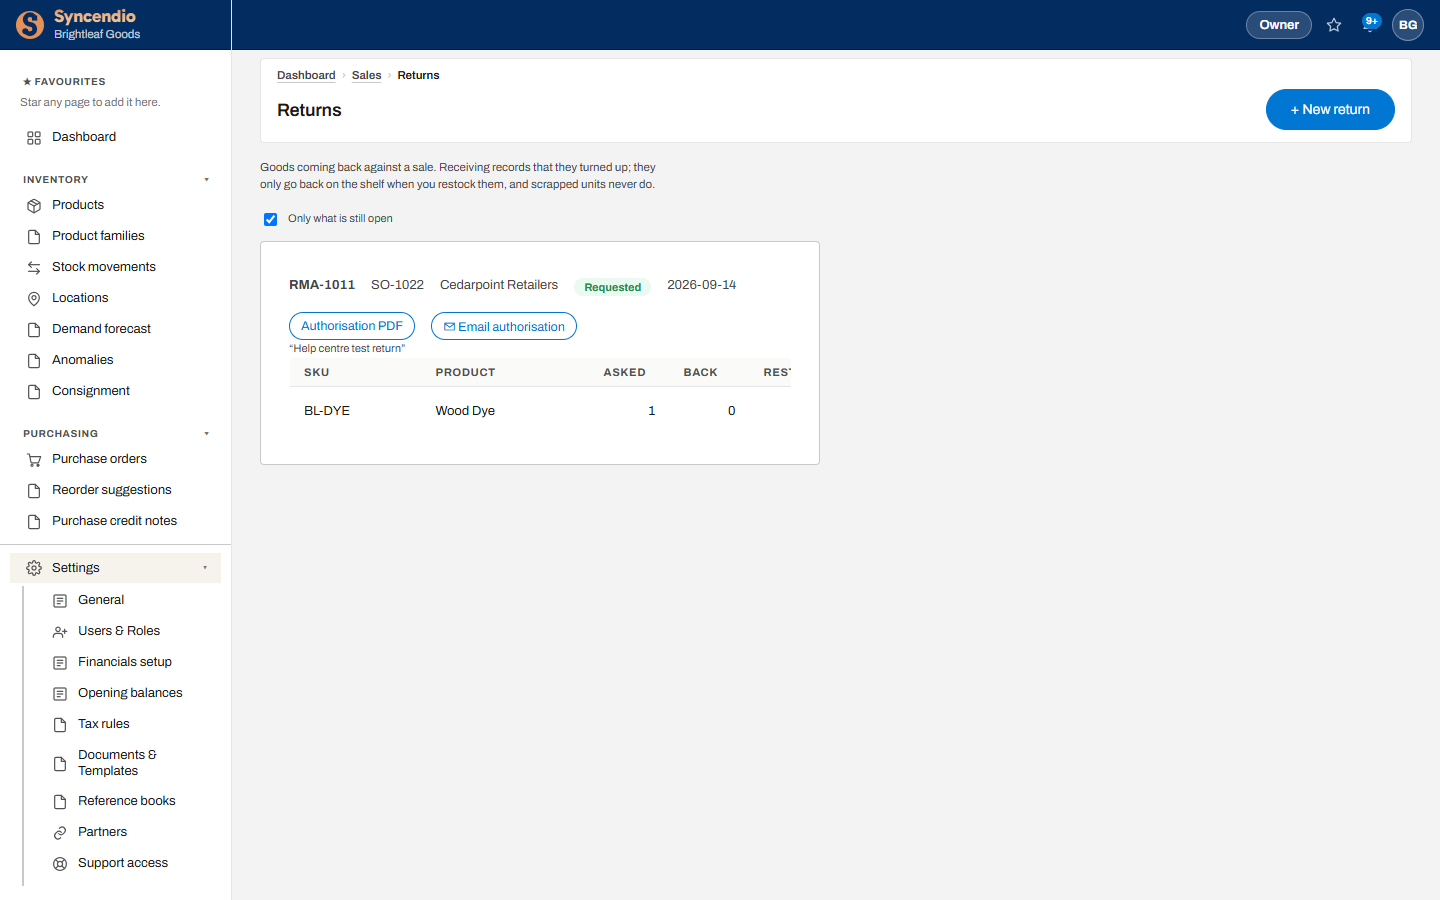
- On each line, enter how many to restock and how many to scrap.
- Click Settle. The line shows how many are still to decide.
When every unit asked for has been restocked or scrapped, the return closes by itself. Untick Only what is still open to see closed returns.
What happens to stock and cost
| Step | Stock | Accounts |
|---|---|---|
| Create | No change | No change |
| Receive | No change — not sellable yet | No change |
| Restock | Back on hand at the order’s location | Stock goes back in at what it cost when it shipped |
| Scrap | Never comes back | No entry |
Refunding the customer is a separate step: raise a credit note on the sales order.
Viewing returns needs access to Sales; creating, receiving and settling need full access to Sales.